
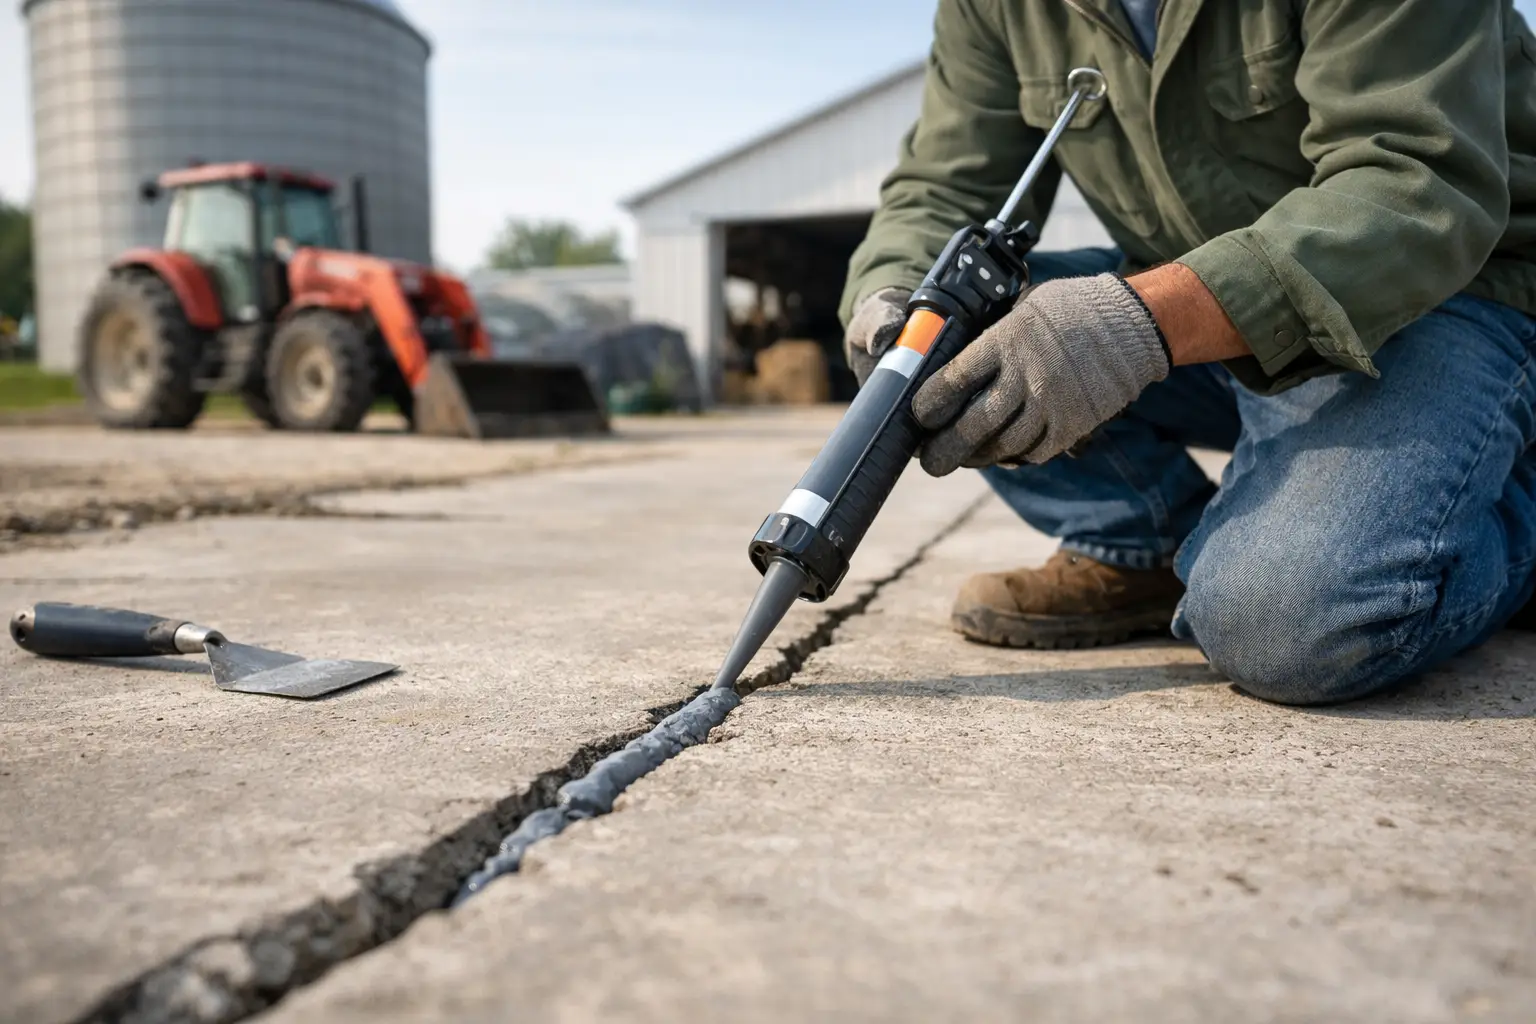
A failed concrete joint in a dairy yard rarely stays a small problem. What starts as a narrow gap can hold slurry and wash-down water, break away under machinery, catch a hoof, and leave cattle picking their way across an uneven surface. Knowing how to repair farm concrete joints properly protects the slab, but more importantly, it helps keep cows moving confidently through the shed and yard.
Farm concrete works harder than most domestic or commercial slabs. It carries stock, feed equipment, tractors, scrapers and regular wash-downs, often while exposed to manure acids, moisture and changing temperatures. A repair needs to suit that environment. Filling every crack with a hard product is not the answer, especially where a joint is designed to move.
Start by identifying the joint and the cause of failure
Before cutting, cleaning or applying a repair product, work out what the joint is meant to do. Concrete joints are not all the same, and the wrong repair can fail quickly or create a raised edge that affects animal footing.
A construction joint is where one concrete pour meets another. It may have opened, chipped or settled at the edge over time. A control joint is a planned weakened line that encourages concrete to crack in a controlled location as it shrinks. An expansion or isolation joint allows movement between slabs, walls, drains, columns or other fixed structures.
Construction and control joints can often be repaired with a suitable semi-rigid joint filler where the edges remain stable. Expansion joints must retain their ability to move. They usually need a compressible backing material and a flexible sealant rather than a rigid mortar or hard epoxy fill.
Also look beyond the visible gap. Repeated joint damage can point to poor drainage, a weak slab edge, inadequate base support, heavy machinery turning on the same spot, or water getting underneath the concrete. If the slab has dropped on one side or rocks under load, filling the joint alone will not provide a lasting repair.
Inspect the joint with livestock movement in mind
Walk the area at the time it is normally used. A joint that looks acceptable when dry can become a serious traction issue after wash-down or during wet weather. Check whether slurry is pooling in the gap, whether a scraper catches the edge, and whether cattle hesitate, shorten their stride or crowd away from that part of the lane.
Pay close attention to high-pressure areas: dairy entrances, backing gates, collecting yards, feed pads, holding areas, cow shed exits and sharp turns. These are places where cattle can load their hooves unevenly and where machinery commonly damages vulnerable joint arrises, or slab edges.
A sound repair should leave the surface level, easy to clean and compatible with the surrounding concrete texture. If the repair produces a smooth, slick strip through a grooved or textured traffic area, the joint may be sealed but the footing still needs attention.
Prepare the joint properly before filling it
Preparation decides whether the filler bonds to the concrete or lifts out after a few weeks of stock and machinery traffic. Do not apply product over wet slurry, loose concrete, old failed sealant or dust.
First, isolate the work area so cattle and vehicles cannot cross the repair while it cures. On a busy farm, timing matters. Repairs may be best completed between milkings, during a planned stock shift, or after hours where the area can be protected for the full curing period.
Remove all loose and broken concrete from the joint edges. A concrete saw, joint-cleaning tool or grinder may be needed to create sound, straight edges, particularly where the top of the slab has spalled. Avoid widening a joint more than necessary, but do not leave weak material behind simply to make the repair look smaller.
Clean out the joint to its required depth with a vacuum, compressed air or pressure washing, then allow it to dry as specified by the product manufacturer. Pressure washing can be effective in farm conditions, but the joint must not be left full of water. Moisture trapped below a filler is a common cause of poor adhesion.
Where the joint is deep, install a closed-cell backer rod at the correct level. This controls the depth of sealant or filler, prevents three-sided bonding and reduces product use. The material should sit evenly below the surface, not be pushed so deep that the repair becomes too thick to perform as intended.
Choose a repair material that matches the joint
For moving expansion joints, use a flexible polyurethane or similar traffic-rated sealant designed for wet, demanding conditions. It needs to stretch and compress as the slabs move, while keeping contamination and water out of the gap. Choose a product with suitable chemical resistance where it will be exposed to effluent, detergents or regular wash-down water.
For stable construction or control joints in heavy traffic zones, a semi-rigid polyurea or epoxy joint filler is often the better choice. These materials support the slab edges and help prevent chipping where tyres, scraper blades and hoof traffic cross the joint. The right product should cure to a firm, slightly forgiving finish rather than becoming brittle under farm conditions.
Cement-based patching mortar has a place for rebuilding damaged slab edges, but it should not be used as a substitute for a flexible expansion-joint sealant. Likewise, general-purpose silicone is rarely suitable for high-wear farm concrete. It may not bond well to contaminated concrete, cope with abrasion or tolerate the movement and cleaning regime of a dairy environment.
The product specification matters. Check the allowable joint width, application temperature, moisture tolerance, cure time and whether the material is rated for vehicle and livestock traffic. A fast cure can reduce downtime, but only if the joint has been prepared correctly and the product suits the site.
Apply the repair level with the slab
Masking the joint edges can help keep the finish tidy, particularly in visible dairy areas. Apply the filler or sealant steadily from the bottom of the joint upward to reduce air pockets. For a deep repair, follow the manufacturer’s guidance on maximum pour depth and whether multiple passes are required.
Finish the repair flush with, or very slightly below, the surrounding concrete. A proud joint filler edge soon gets struck by scraper blades, tyres and hooves. It can also become a trip point. A recessed repair that is too low will collect slurry and wash-down water, so the target is a clean, even transition across the joint.
If the joint edges have broken away, rebuild them before filling the joint itself. Remove all unsound concrete, apply a compatible bonding system where required, and use a high-strength repair mortar suited to wet agricultural conditions. Once the edge repair has achieved its required strength, cut or reinstate the joint line so the slabs can still behave as designed.
Keep stock, machinery and wash-down water off the repair until it has fully cured. This is not a corner worth cutting. Early traffic can tear the filler from the joint walls or mark a new repair before it has developed strength.
Address drainage and traction at the same time
Joint repairs last longer when water is moved away from the slab rather than repeatedly forced into it. Check the surrounding fall, drain grates and channels, and remove build-up that directs wash-down water across a damaged area. Where water sits at a joint, it can soften the base beneath the slab and accelerate edge failure.
Traction should be reviewed at the same time. A repaired joint in an otherwise polished, worn or smooth traffic lane may not solve the larger safety issue. Concrete grooving or bush hammering can restore grip in suitable areas, helping cattle maintain a more natural stride when floors are wet. The treatment must be planned around joint locations, drainage direction and the type of livestock traffic using the surface.
This is particularly relevant around dairy exits and turns. Cows place high sideways force through their hooves in these zones. A level, well-supported joint combined with a consistent slip-resistant texture gives them a safer surface to move across.
When a joint repair needs specialist attention
Call in a farm concrete specialist if the joint has significant level difference, the slab edges are extensively broken, water is washing out material below the concrete, or the same repair repeatedly fails. These symptoms may require slab stabilisation, local concrete replacement, drainage correction or a planned surface treatment rather than another tube of sealant.
Specialist assessment is also worthwhile where repairs need to be completed around milking schedules. Happy Hoof can assess joint condition alongside traction, drainage and traffic flow, then plan work to minimise disruption to the farm.
A good joint repair should disappear into the working surface: level under a hoof, firm under machinery, easy to wash down and flexible where movement is required. That is the standard to aim for every time cattle cross the concrete.